Sunday, March 31, 2013

NOTD: Easter Nails!♥

Hello Everyone!

I hope everyone is having a great Easter so far.
I've been dying to post this all day but once again i've been kind of busy, I was busy with Easter celebration, and also doing some yard work :p. Someone had to get rid of the 200 thousand pounds of leaves that completely cover the back yard making it look ugly. My puppy seemed to be amazed by the piles of leaves though. I thought I'd add a picture so I could introduce you guys to Rhea, my 14 mo pitbull.


I promise she was posing for this picture, haha she loves the camera as much as mommy loves taking pictures of her. haha she thought I was cleaning the yard just so she could have fun running and hoping around the leaves.

Okay enough rambling about my baby and getting on to the nails!!! I saw multiple cute nail art designs and I just couldn't wait to bring my idea to life.
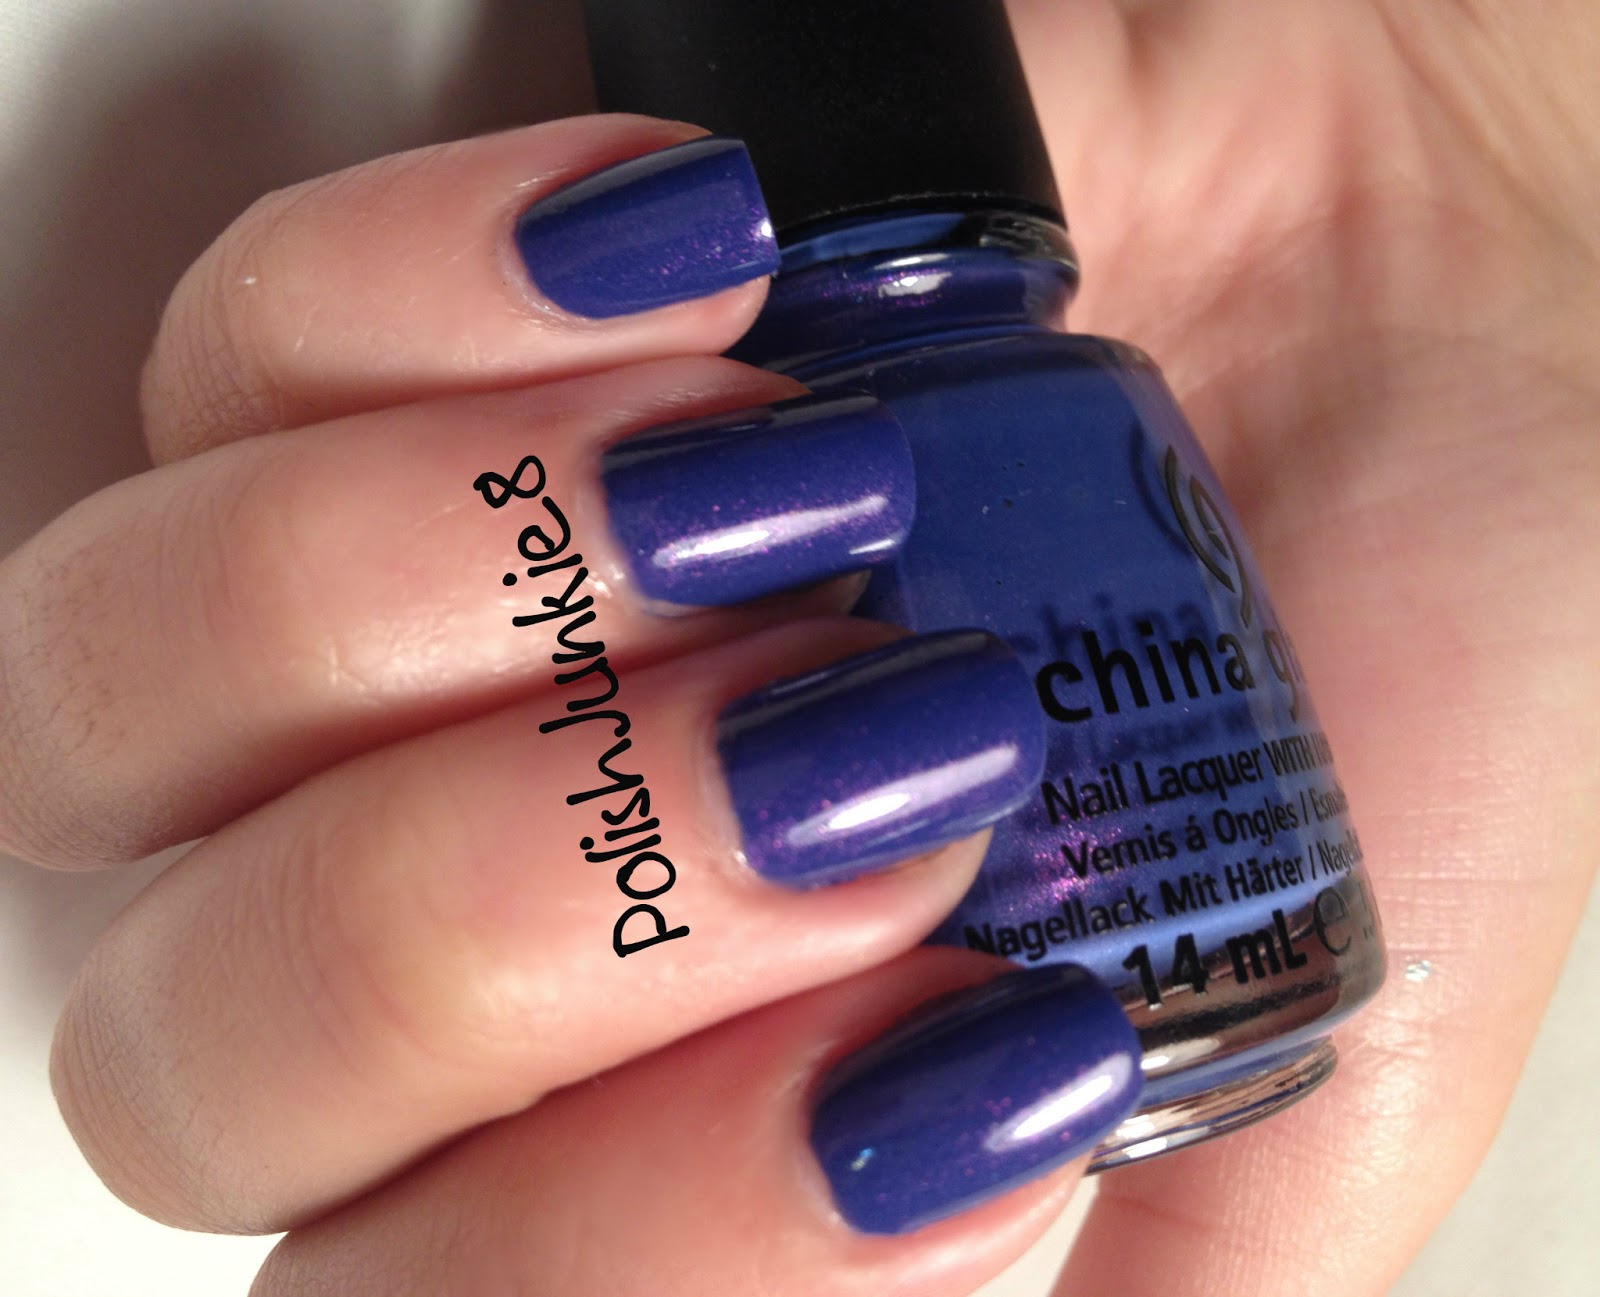
Shade.

I was shopping for some Easter stuff and bought these cute purple marshmallow bunnies & chicks, they inspired me to do this look!! It was quite easy even though i'm sure these aren't that great.
Bear with me I am a beginner and this is my first year doing Easter nails!
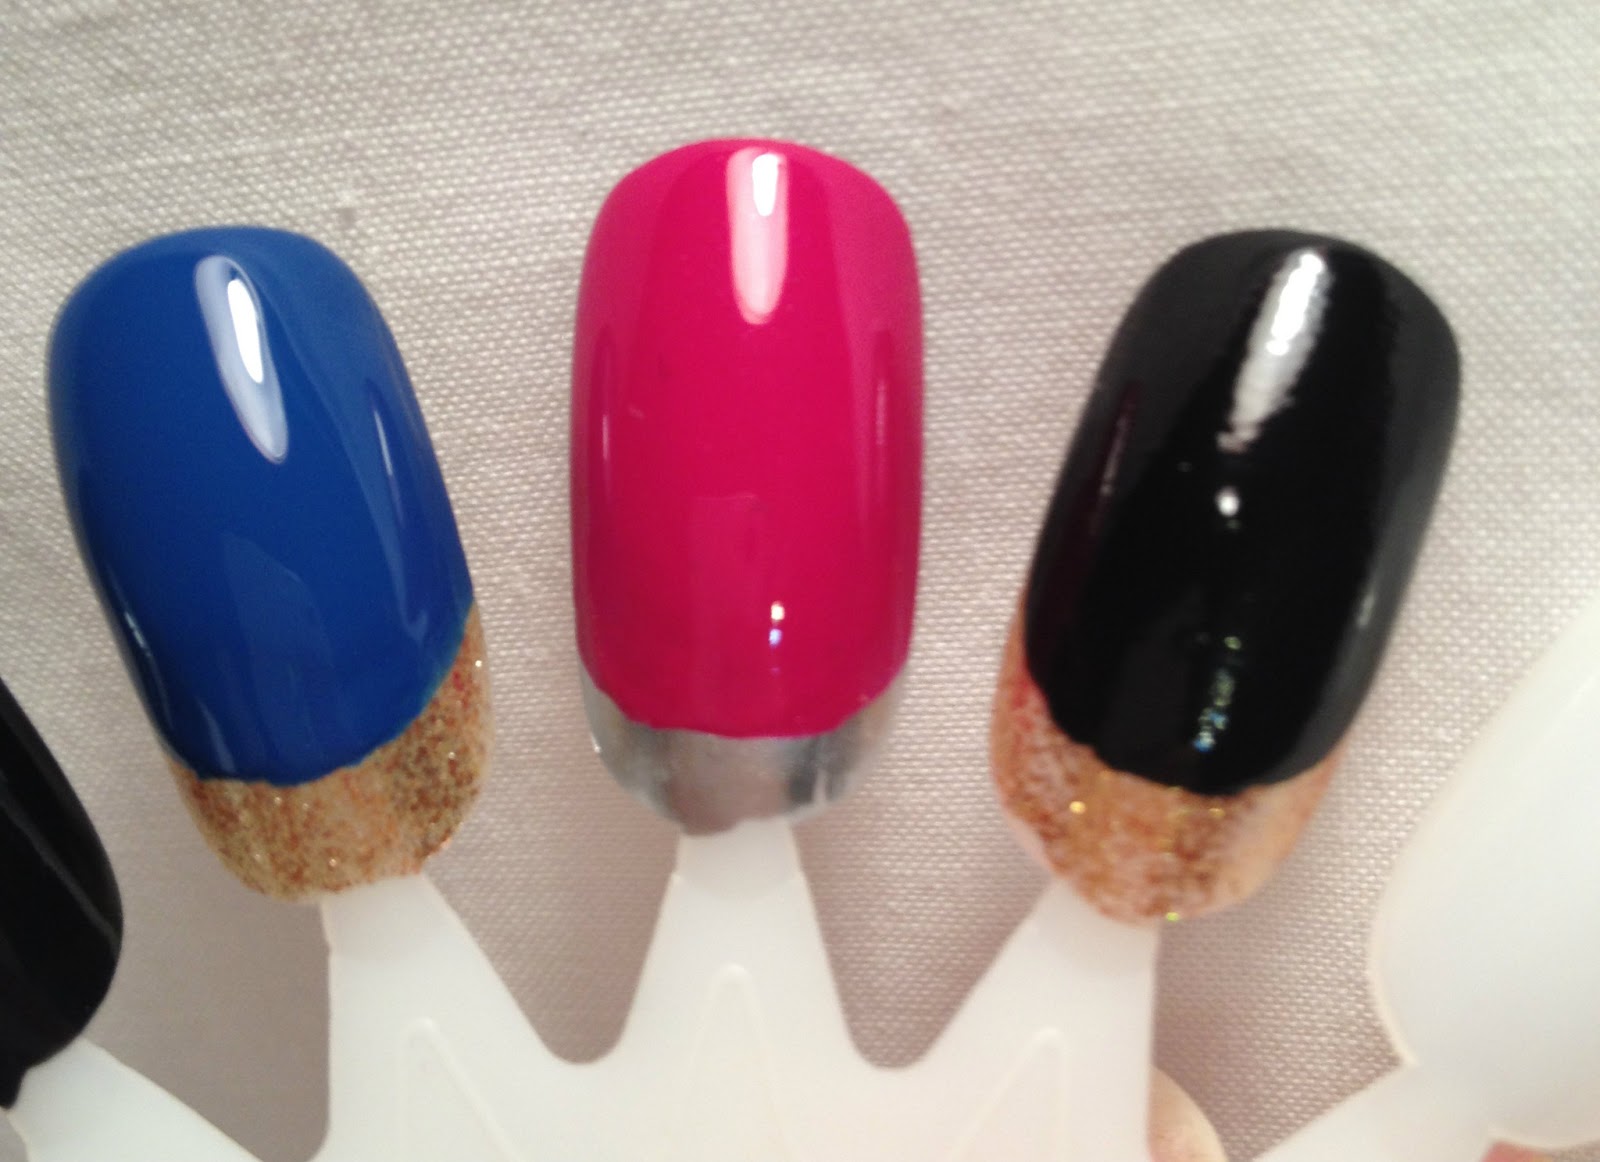


Flash On.

All I used for this look was A nail art brush, A double ended dotting tool & a few polishes.
On my pointing finger I used Cinderella by Sinful Colors & added some white clouds with White on White by China Glaze.

For my middle finger I used Cotton Candy by Sinful Colors as well. For the eggs I used Polish Addict's Jellyfish 1 & Hard Candy's Gummy Green. The Scattered glitter on the background is Polish Addict's Dr. Franken.

On my ring finger I used Essie's First Date as a base & White on white by China Glaze. For the bunnies ears & nose I used Essie's Muchi Muchi.

Last but not least my pinky finger. I used Mellow Yellow by Sally Hansen & White on white for the rest. Orange acrylic paint was used to create the beak.

I really liked this look and thought it was pretty easy for noobz like me! hehe.

Hope you guys liked it & would love to see some feedback!

Keep coming back for more designs and IMPORTANT:
For the month of April I will be doing my best to do the follow Month Challenge everyday!
The link is here. You guys should check it out Follow this amazing blogger & Join this challenge! Will love to see some of you guys' entries!

Thanks for reading once again. Love Always, Polish Junkie♥


Saturday, March 30, 2013

NOTD: glitter,glitter & some more glitter!

Hi guys!

I hope everyone had a good week & is having a great weekend!
Today i'm wearing a cute & super easy nail art design. All I used for it was a black polish to use as a base, a glitter polish & a matte top coat.

Shade

All I used for the base was Sally Hansen's Black out.
When the black was completely dry I put on the glitter polish. The polish I'm using is called "Dr. Franken" and it's made by the indie polish maker Laura Sanchez.This polish was completely perfect for this look because there's no fishing required when applying.

Flash On

Dr franken is a glitter bomb polish in a clear base. It's packed with multiple types and colors of glitter.
I definitely love this polish and it's perfect because it works over ANY color polish, you can also use this polish to create some cute jelly sandwiches! That just means you can use this polish sandwhiched between two layers of a sheer polish,


 As you can see here we have tons of hexagonal glitter in different colors and sizes, I can spot some teal,blue pink and yellow hex glitters and some silver micro glitter.
Since this polish has the glitter very well scattered everywhere I didn't have to fish for glitters at all, making it easier to even everything out and have a smooth surface as a final result!
SInce my surface was pretty smooth on it's own I didn't have to worry about layering a clear top coat I just went right for the matte. The matte top coat I use its called Matte about You and it's by Essie! I totally recommend it, it works just wonderful!.
 
Hope you guys liked this mani & decide to try it out!
If you have any requests on what nail art designs I should do next feel free to comment on the box & I wil try my best to have it up asap!
 
Love you all.
Polish Junkie.


Friday, March 29, 2013

Polish Addict Nail Mail!!

Hello Everyone!

As you guys know i'm a huge fan of the indie brand Polish Addict, well the amazing Laura Sanchez Sent me this polish for me to review,it goes by the name of "Southern Belle".


Southern Belle is a white crelly base with tons of different kinds of glitters.

 
 Flash On

The glitters make the white base look a little lilac-ish to me. I was amazed with how great the formula was.
The application was also amazing and no fishing was required, I completely love polishes like that, in my book it gives them an automatic +10 ;).


Shade

Okay now i'm going to talk about the glitters:
This polish is fully packed with orange,blue,white,silver and light blue holographic hex glitters. We also have violet triangles that are also holographic,we have some holo blue diamond shaped glitter,as well as the micro holographic glitter,some medium sized squares and bar glitter!!


I'm so excited to add this polish to my collection, its such a variety of glitter and there's just tons and tons of it. I really recommend you guys to purchase this polish it's definitely a must have!

 You can purchase Polish Addict polishes at http://www.shoppolishaddict.bigcartel.com/

If you guys have any questions feel free to contact me @ mayratorres.8@hotmail.com
Thank you all for reading & don't forget to follow to stay updated on indie polishes & more!

.xo.


Wednesday, March 27, 2013

Orly-Miss Conduct.


Hey Everyone!

Today I broke one of my nails when I had planned to do some tribal nails :c so now that my nails are recovering, i'll be just swatching colors instead of doing nail art.

My nails have been growing pretty fast lately though so hopefully I'll be back at my good length soon.

Alrighty here's Miss Conduct.


Miss Conduct is a bright raspberry pink base with scattered holographic glitters.


The holographic effect isn't that strong but this is still a gorgeous color!


The application of this polish is great and it only took me two coats to reach full coverage.
All the pictures are two coats, no base coat and shiny top coat.

I believe this polish came out with the Naughty or Nice holiday collection.
It took me a while to find this polish, every time I would go check the sally's near me this color would be sold out.
I believe you can find this easily at Ulta, and it costs about 8.00 USD.


China Glaze's Avant Garden Collection Swatches.


Hey everyone!

I hope you guys are doing fine today.
I have two colors from the Avant Garden collection by China Glaze.

The first one will be Fancy Pants.


Fancy Pants is a medium toned blurple (blue-purple) with a very bright purple shimmer to it.


Fancy Pants is one of the 12 shades from the Avant Garden collection. I bought mine at Sally's Beauty Supply. The application of this color was quite awesome. Two coats gave me full coverage and the shimmer shows great, just not on camera.


The shimmer was really hard to photograph but you can kind of see it here under the China word. lol
This is the best picture I could get out of like 100 I took.

The second color I have today is Passion for Petals


Passion for Petals is a bright raspberry pink cream polish. I didn't think I would like this color but just in the rush of leaving the store with something I picked it up randomly.


I don't regret buying this polish at all, the formula was good, in the picture I used two coats, I feel like I should've put a third coat.

I might pick up some other colors from this collection later on, but honestly none of them really catch my eye.


If you are a blogger and would like to me check out your page just leave the link on the comment box.
I would love to expand my circle on the blogger nail community!


Don't forget to follow for more reviews & swatches. If there is any color in specific you would like to see leave a comment as well!

Have a nice night. ♥
Polish Junkie.

Tuesday, March 26, 2013

Rainbow Nails!

Hi guys!!


Today i'll be showing you guys a rainbow mani I did today :)


All I used was a dotting tool & a make up sponge.
The colors I used were Essie-Really Red, Maybelline-Orange Fix, Yellow acrylic paint, Maybelline-Tenacious Teal, Essie-Play Date, Sinful Colors-Cotton Candy.
I added China Glaze's Fairy Dust.

The Ombre was pretty easy to do and so were the dots you just have to be a little careful..

Hope you guys liked this & try it out.


Can't wait for some nail mail i'm waiting on for you guys to check out!
Later today I'll be posting swatches of two colors from China Glaze's Avant Garden Collection.

Sunday, March 24, 2013

Melting Rainbow!

Hey everyone!

Today ill be bringing you another mani using the amazing Halo Hues Collection by Color Club.

All I used for these design was almost all the colors from the collection & a double ended dotting tool.


(From left to right the colors are: Miss Bliss,Eternal Beauty,Kismet,Over the Moon and Cosmic Fate)

This was really easy to do & didn't really take as long as I thought it would!

 (Flash)


All I really did was dot lines across and put some bigger dots in some parts to make it look like it's
melting. I didn't really wait for each color to dry, I was okay with the colors blending a little bit.


(No flash)


(Sun&Shade Shot)

I hope you guys try this mani out!
Its super single and you can really use any color you would like. I'll be posting some swatches later since i'm bored and not sleepy :p

See you guys later!

.xo.


Saturday, March 23, 2013

Holographic Goodness!

Hello guys!

I hope you all are having a great weekend.I wanted to show you guys my NOTD!

Today I decided I wanted to do an Ombre look but it was so sunny and beautiful outside that I decided i'd
bust out my Color Club Halo Hues and get to the sponging!

The colors I used were 

From left to right: Miss Bliss,Over the Moon and Eternal Beauty.

(Artificial Light)

I honestly have to say that for sponging the color on Color Club has been the best brand of polish i've used.
I only put polish on the sponge once for each nail, usually other polishes I do one coat then wait and do two or three coats,well this line of polishes does have a great formula, and I'll totally be doing some other gradients with this collection.

(Sun Shot)

I honestly thought that when I sponged the polish on it'd lose its holo effect but not at all it looks so pretty on the sponge too! haha.
 How amazing does my ring finger look huh?^.^ love that holo goodness!

I hope you guys liked this and inspired you to give it a shot!

It's honestly very easy to do and all you will need is a make up sponge.
I'll be posting a different mani using polishes from this collection later on tonight or tomorrrow.

Hope you guys come back to check it out & don't forget to follow.


Love you all!.xo.


Friday, March 22, 2013

Ruffian Manicure!

Happy Friday!!

TGIF right? Today i'm bringing a super cool mani for you guys! it goes by the name of ruffian manicure and
to me it's just basically a reverse french manicure.
I found some blogs and youtube tutorials about these nails a couple months back, and last night I finally decided to do them on my nails and show it to you guys!

I've found a couple of good color combos for this kind of mani and I will be listing & adding nail wheel swatches at the end.
Today though I will be using Essie's No place like Chrome & China Glaze's First Mate.

All you're going to do is first, apply a coat of No place like chrome and wait for it to be completely dry.
If you don't feel comfortable about freehanding this mani you can always find some French Manicure stickers at your local beauty supply store! I got mine from sally's and you can just place those at the bottom of your nail as a guide.

(Flash)
 
 
I really love the way this looks! I think it looks really classy & professional,it's super easy to do you don't need any tools aside from your polish brush and some top coat.
 
Here are some color combinations I would recommend!
 
From Left to Right I'm using
Zoya-Ziv & Essie- Mesmerized.
Essie-No place like Chrome & China Glaze-Designer Satin.
OPI-Goldeneye & Sally Hansen-Black Out.

After these were dry I decided to apply some matte top coat. I'm using Essie's Matte About You.


 That was it for today! I hope you guys have a great Friday be safe and don't make too mani decisions.
I'll be at home making more fun posts & tutorials for you guys!

Love, Polish Junkie♥


Thursday, March 21, 2013

The Hungry Asian's Indie Polishes.


Hi guys!
Today i'm reviewing this awesome Indie polish brand that goes by the name of The Hungry Asian.
I'll be reviewing two of her polishes that are part of my collection!


The first polish to be review goes by the name of Mint Condition is a bluish mint creme base with tiny glitters in it.


The formula of this polish is pretty amazing the polish wasn't too thick or runny.
You don't have to fish for the glitters at all.
How cute are these bottles huh?! these are the mini bottles and they are sold for $4.50 USD.


For the glitters we have a bunch of red,blue,purple and black micro glitter.This color is pretty opaque with three coats, you could use a mint green color as a base but I just used the polish by itself in this picture.


Okay, next up we have Strawberry!


Strawberry is a bright red creme with sparse black micro glitters.

The formula of this polish is perfect just like Mint Condition's.
In this picture I used 1 coat of Essie's Really Red as undies, then applied two coats of Strawberry.
I really loved the effect this polish has, and it always makes me a little hungry to look at my nails while wearing this :p


As you can see in the macro shot, this polish is not completely packed with the black glitters like most glitter polishes are, I like how they are all scattered everywhere, giving you a different amount on each nail every time.
I think this girl is genius for coming up with this polish, and I think she should kick it up a notch and come out with Scented polishes :p That'd be awesome! wouldn't it?


You can purchase Hungry Asian polishes at Kae's etsy shop here
Her new Spring line is to die for and I can't wait to get my hands on them!


Wednesday, March 20, 2013

Mini Hard Candy Haul.~

Hello Guys!

Last night me and the bf went to Walmart to pick up some bubble wrap, and I was browsing through the make up isle, and saw that they had a display for the Candy Sprinkles Collection and I decided two pick two of these up to review for you guys!

Left to Right: Sweet tooth & Gummy green.

  First we will review Sweet Tooth.♥
Sweet tooth is a soft pastel blue crelly base with pastel microglitters.


This is the first Hard Candy polishes I've got and i'm so not disappointed of these. I'm glad I purchased them and that they're part of my collection now. 
For being only $4.00 these polishes are quite great! I've seen some girls' reviews about the Revlon polishes that are quite similar to this but just by looking at the bottle i'm not sure they're going to be good quality, and now that i'm running out of space everywhere to put my polishes in, I can't afford to buy stuff thats just going to be sitting there even though who am I kidding... i'm an addict! lol I tell myself I put all my polishes to use all the time.. (just my excuse to buy more) haha. So yeah got side tracked.
The formula is great for such cheap price! I though I'd have to layer many coats of top coat to get this to look decent but I was actually happy with the results by itself!


As for the glitter I am completely in love, the colors are so soft and perfect for spring!
We got pastel pink blue and white hexagonal micro glitters. I didn't have to fish for these at all, not dabbing application needed, just applied like regular non glitter polish.

Alrighty next up we have Gummy Green..

(Flash Shot)

 Gummy Green is a mint green crelly base with micro glitter.
This one really caught my attention the color reminded me of Mint Condition by The Hungry Asian.
I thought it looked really fun and pretty and also very suitable for the Spring!

 (Artificial Light Shot)

The application of this was super easy as well, I just brushed this on like regular polish.
I'm really happy I found this display at my local Walmart, I think I'll be going back tomorrow for some more of these. 
I liked the little smaller bottles as well, since I have such small space to keep all my polishes these save lots of space!


For the glitter we have micro hexagonal black and white glitter. I love it, I don't own another black & white glitter aside from Whirled Away by China Glaze (which I've never used).
I really like the fact that these glitters don't stick up at all. I don't usually use a top coat when i'm swatching multiple colors, or just swatching and removing my polish because its just a big waste :p

Alrighty guys that's it for today, I like the fact that i'm actually making myself write :)
Still hoping to get some feedback!

Have a wonderful night my polish addicts.
xo.


The search of the perfect Red Polish.♥

Hey guys!
It's been a while since i've been looking for the perfect red nail polish, and I certainly know I am not the only one that's been though this. Since I was little the only color of nail polish I really liked wearing was red, I was always into red polish.
Now that i am HUGELY obsessed with nail polish, I decided to put myself in the little quest of finding the Perfect shade of red nail polish.

Last week, I stopped by another walgreens to look for the new sinful colors collection that I still haven't come across to and I guess will have to end up buying online.
What I did find was a HUGE display of essie Polish, I usually get my drug store brand nail polish at CVS, but since I was already at this walgreens, might as well take a look, right?.

So I found this color that I thought would complete my search, It goes by the name of "Really Red" and it is made by Essie.

(Sun Shot)

One of the things that has tricked my eye when buying nail polishes is that sometimes I think a certain color looks like a really bright red in the bottle but when you wear it, it turns out to be a hideous bright orange mess.I personally don't wear orange polishes at all.

 Flash Shot
 
Okay, let's all just take a minute to appreciate this stunning gem. This Polish is the closest I can get to the red I picture in my head when I picture the perfect red.
Red nail polish will usually stain your nails and its a hassle to take off around your cuticles, but this polish was surprisingly not the same. It was really easy for me to remove this and it didn't even stain my nails, not even after not applying base coat prior to color.
Love the way it looks with the flash on. This color makes me feel classy and classic at the same time.
 
(Artificial Light Shot)

The formula of this polish is great, its definitely a red cream and its fully opaque in 3 coats ( what I applied on my nails) Two coats looks good as well but I could see a tiny bit through it so I decided to add the third one,it really does make a difference with this nail polish.


Hope you guys enjoyed this review.
Don't forget to follow. Goodnight lovelies!
XO.

Polish Addict Nail Mail ♥

Hey Guys!
I'm so sorry this post took this long, when I first started this blog I really wanted to commit to at least writing once a day since for college I need to improve my writing skills a lot if I want to succeed in the career I want.

So yeah I always paint my nails more than twice a day so there's no excuse for my being a lazy butt that's too lazy to just lay down and grab her laptop and type.
But hey i'm doing it now, so I guess i'll get started with the polish talk <3

The polishes I'll be reviewing are both from my fave indie polish maker, Laura Sanchez, her polishes go by the name of Polish Addict, and if you look through my previous posts you can find the 2 post long review I did about my Polish Addict collection.

Alrighty, the first polish I'll be reviewing is called "Spring Prom Queen".
Spring prom queen is a beautiful whitish pink with different shaped and sized glitters.


As you can see this polish has a cute combination of shades and looks perfect for the spring!

For some reason when I tried this color by itself it didnt really look so pink but I was in a rush so didn't really want to wait for it to dry so I could build up the tone so I just decided to use White on White by China Glaze as undies.

I had to fish a little for the glitters but at the end got a good amount and again, if i would've taken the time to do three coats with no undies i'm sure i would've gotten lots more glitter, but I really like how this looks so im satisfied :)

I really like the kinds of glitter Laura put in this polish they all go together so greatly!
The formula of this polish was great! and after a few nails glitter wasn't hard to get out at all.


Now the best part! The glitter of course! This polish contains Neon matte pink glitter and hearts, we also got the medium sized purple hex glitter, white hexagons, as well as white bar glitter,rectangles and squares.
I'm really loving the white bar glitter and the really tiny white hex glitter.


The second polish I bought this time is called "Cupcakes & Kittens"
I'm not really a fan of cupcakes myself but everybody loves kittens :p 
Since Spring is coming up I knew I had to get my hands on this because, this polish definitely screams spring!


Cupcakes & kittens, is a really soft pink crelly base packed with tons of cute glitters!


 This is 2 coats of cupcakes & kittens of White on white by China Glaze.
I didn't have to fish for glitters at all, I put this polish on just like i would put any plain color on.
This color is seriously so pretty and I wish this picture would've came out a little brighter, so my apologies for that. 

Cupcakes & Kittens is super packed with tons of pastel big and tiny squared and hexagonal glitter.
You have pastel pink,blue,green and lavander.

I'm loving this polish and will definitely wear sometime soon again! I recommend you guys to get your hands on this ASAP its sold on Laura Sanchez' Shop here.


Hope you guys enjoy this post and don't forget to follow for more posts. :3

xo.